The following document assumes all graphics for your production have already been loaded into the Xpression system. For more information on creating media for the Ross Xpression system, go to the Creating Lower Thirds for Ross Xpression page.
The CG Operator is responsible for playing out Full-Screen and Lower-Third graphics during production. These are generally still images.
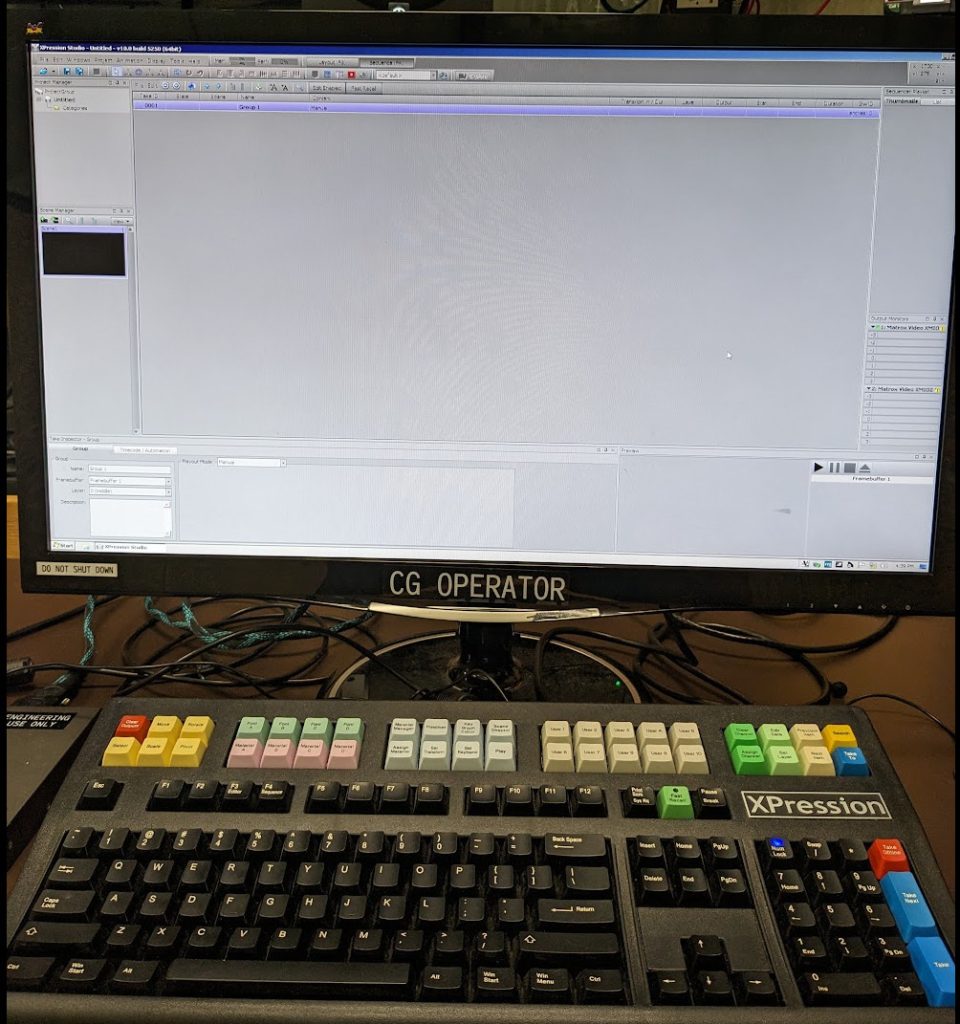
Open the Ross Xpression program by double clicking the icon on the desktop, if it is not open already.
Goto FILE and load your project. It is likely it is in the “Recent Projects” menu. If not, project files are generally kept on the D:\ drive inside of your production’s sub-folder. Otherwise, create a new project.
Click on the “Sequence” tab (or press F4). This will take you to a list of all of your show’s graphics to be played out.
It is preferable that these graphics are stacked in the order that they will need to be played back during production. If not, simply click and drag to rearrange line items in the Sequencer.
There are two output channels of the Ross Xpression CG System, which you will see labeled on the Multi-Viewer as CG1, CG2 & CG3.
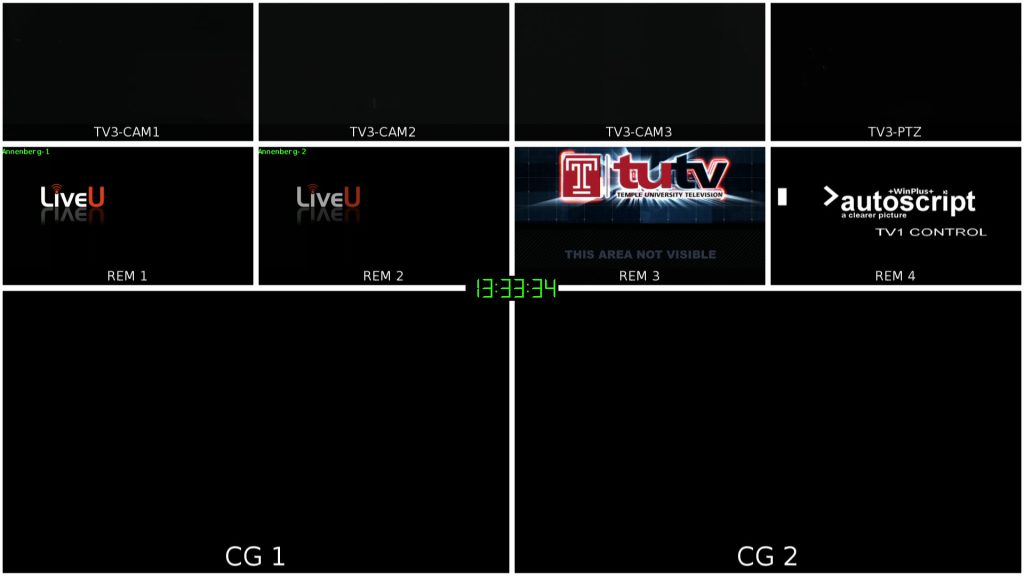
It is important to realize that sending graphics to either of these channels does not necessarily mean they are included in the final production output. The CG operator is simply making these graphics available to the Technical Director, who must explicitly choose to “key” the CG outputs on to the program (“PGM”) output, or “take” them directly.
If the Technical Director has placed any of your CG output channels on the production’s PGM output, you will notice a rectangular red “tally” indicator located over that CG channel on the Multi-Viewer.
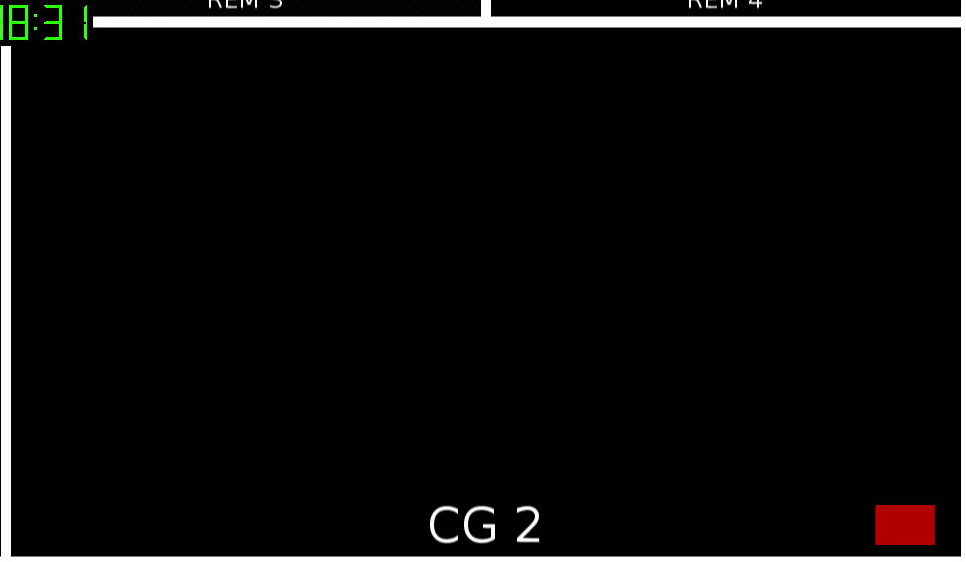
In this situation, be aware that your system’s output is currently “hot” (that is, currently being used on-air). Any changes you make to that channel will now have an immediate impact on the production output.
Inside the Xpression Sequence, notice the “Framebuffer” column attributed to each line item. This corresponds to the selected playout channel for this particular graphic.
Framebuffer 1 = CG1
Framebuffer 2 = CG2
Framebuffer 3 = CG3
To change this selection, be sure that “Edit Enable” is highlighted, and simply click on this cell to change the value. You can also modify preferences for each graphic by clicking on the line item, and using the appropriate tabs at the bottom of the user interface.
To send a graphic to the designated CG1, CG2 or CG3 output, simply double click the line item. Alternatively, you can highlight the desired graphic, and utilize the “TAKE” keys on the Xpression keypad. These keys are useful for quickly advancing through graphics during a live production.
