360 Systems TSS-4000 Video Server
The TV3 Playback Server is used to play video clips, such as: Packages, VO/SOTS, and PSA’s during your show.
The Server Operator is responsible for ensuring that the necessary playback media is loaded onto the server, and that it is played out at the appropriate times during production.

The page provides everything you need to know to properly prepare artwork and video clips for playback on the TV3 Server.
It also describes the general playback operation procedures.
Server Media Preparation
(for Designers/Editors):
Use these procedures to ensure your video clips are properly formatted for the TV3 Video Playback Server before your production
- How to: Import “TV3 Playback Server” preset into your copy of Adobe Premiere Pro
- How to: Export video for TV3 Playback Server from Premiere Pro
- How to: Transfer exported files to TV3 Server
Playback Operations
(for Server Operators):
Once media has been transferred to the server, it is the Server Operator‘s responsibility to ensure that media available during a live production, and play out the video clips at the appropriate time.
The video below describes basic Playback operation.
The 360 Systems TSS-4000 Video Playback Server provides four video Playout Channels. We call these SERVER A, SERVER B, SERVER X, and SERVER Y. These source names correspond to sources that are available on the Technical Director and Audio Operator’s equipment. Please note that SERVER Y does not have an audio output, as it is generally reserved for graphical use.
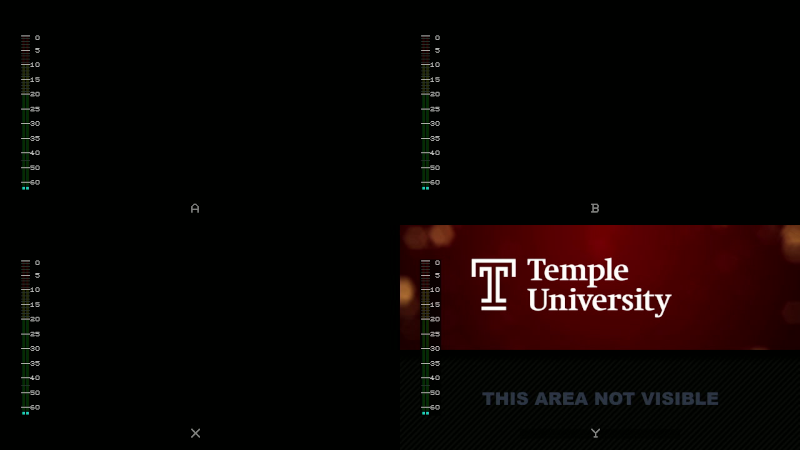
The Server Multi-View monitor, located next to the server’s user interface monitor, shows the current output of all four channels.
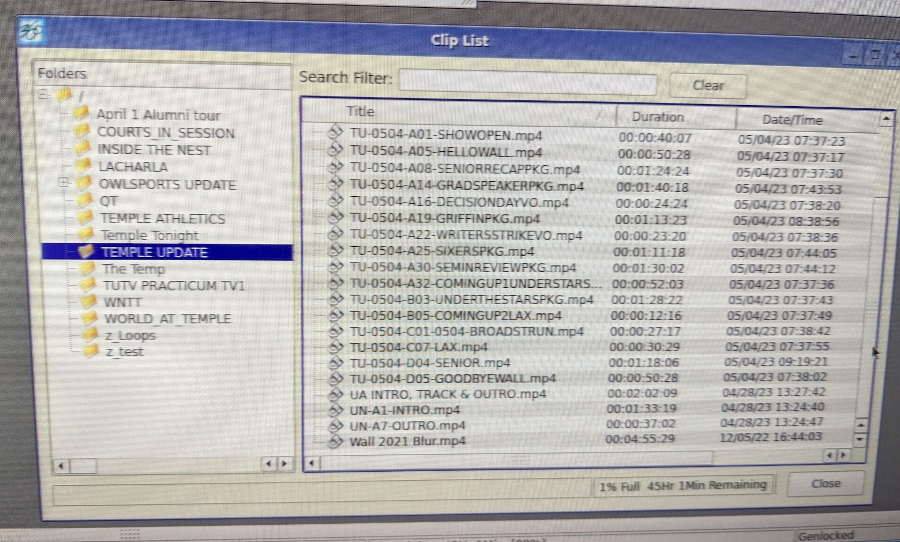
Taking a look at the user interface, the “CLIP LIST” contains Show Folders on the left hand side. After selecting your show’s folder, all the clips contained within will be listed on the right hand side.
There are four Channel Transport control windows, which represent each channel – A, B, X and Y.
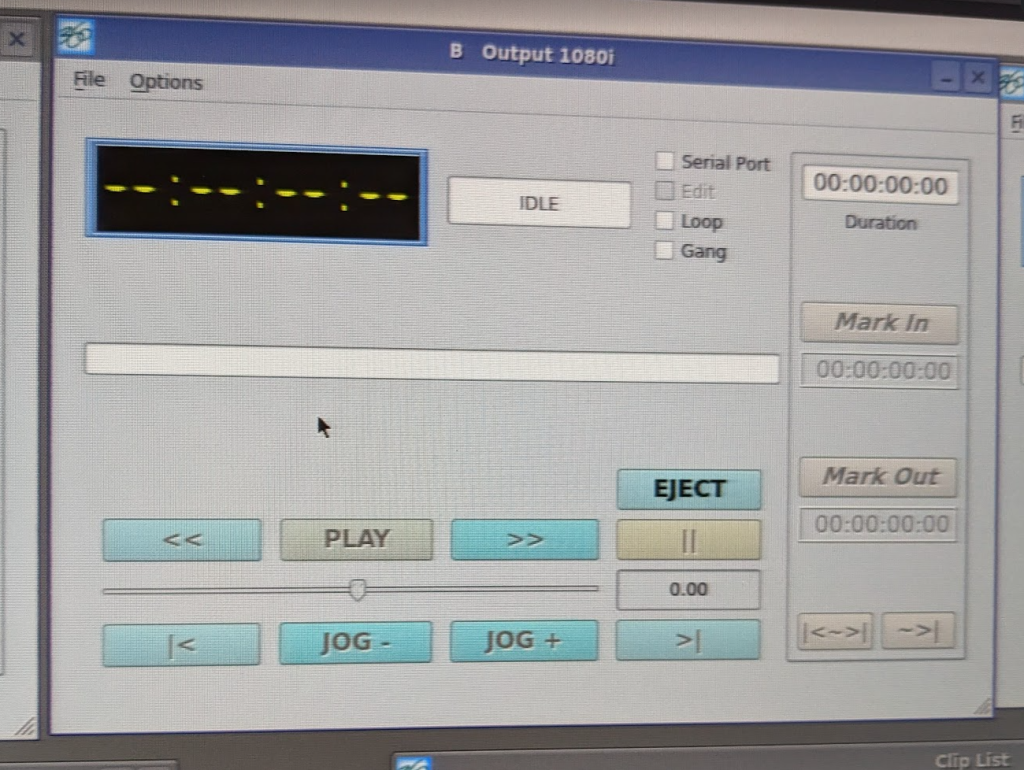
To load a clip into a channel, click and drag the clip from the Clip List onto your desired Channel Transport window.
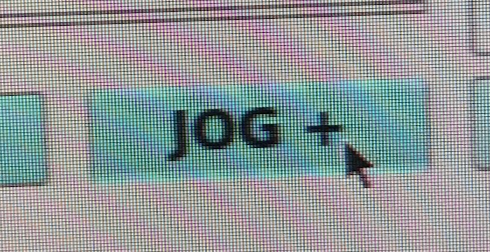
You will notice on the Multi-Viewer that this particular channel now displays a black frame. It is good practice to press the “JOG +” button on the Channel Transport controls, which will pause the channel on the first frame of video.
This will help the production crew feel confident that the correct video clip is loaded and ready to be played.
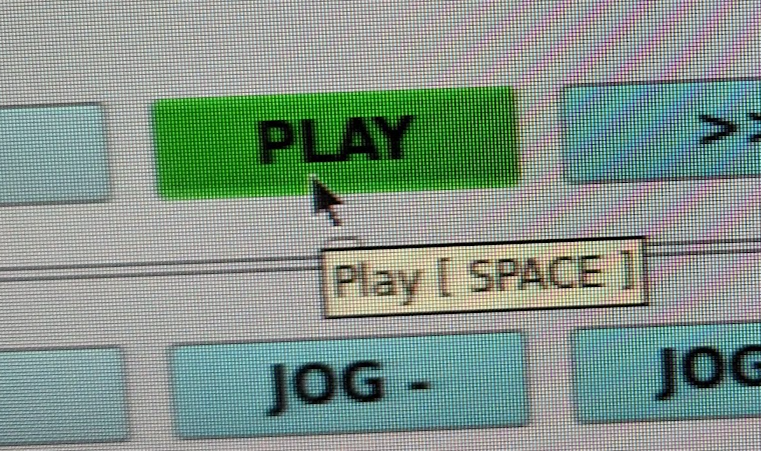
It’s now time to play the clip. When told to do so by your production’s Director (they may say something like “ROLL Server A”), that’s your cue to click “PLAY” on the appropriate channel.
When the clip reaches the end, it will freeze on the final frame of video. Ensure that the channel is no longer in use, and “EJECT” the clip using the EJECT button, then load your next clip as necessary.
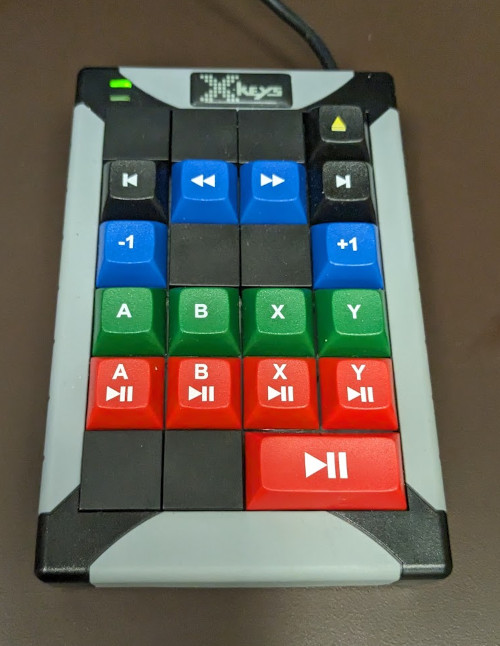
Note that Playback can be controlled by using the mouse, keyboard shortcuts, or the custom server controller with designated icons seen below.